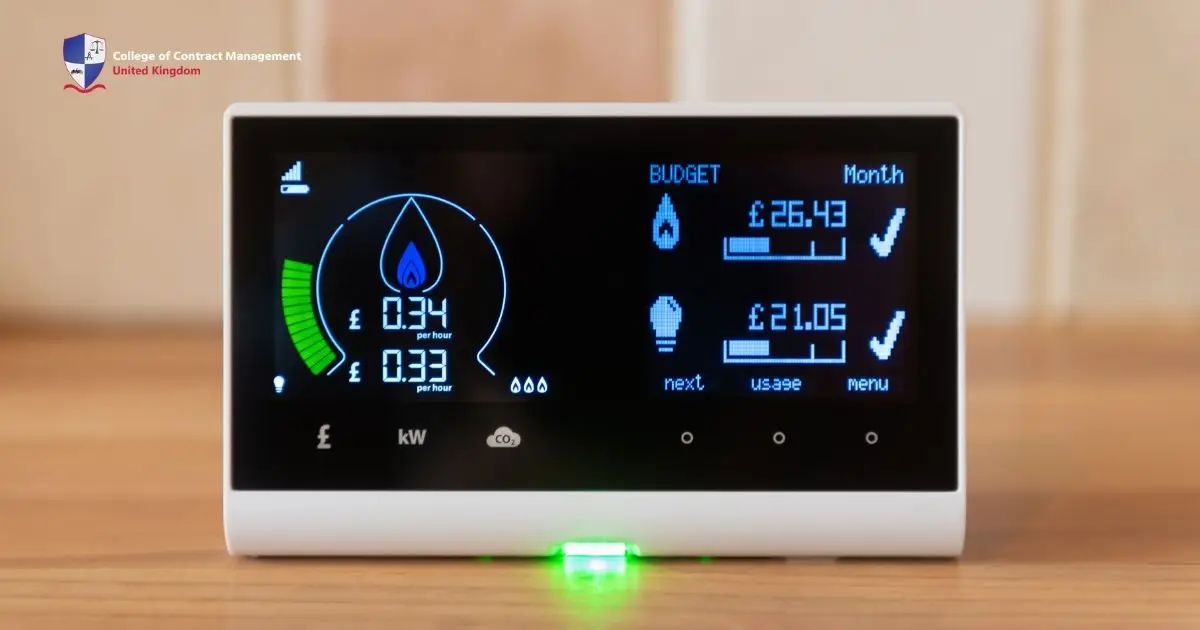

A 12V power supply is a versatile piece of electronics. Whether you do gas, glow, or even electric cars, you always need a battery charger. Battery technologies are advancing at a breakneck pace today, making it even more important to have a high-quality charger. Therefore, this tool is going to need a quality power supply as well.
However, if you are looking for a good quality 12v power supply that won't break the bank at the same time, it could be quite difficult to do so. With all the stuff it needs to run the power supply itself, you can run over £100. So you might rather want to create one yourself. Thus, this article is going to give you the steps to know how to do so.
What is a 12V power supply?
Firstly, a 12V power supply is a device that converts high-voltage alternating current (AC) or direct current (DC) input to a stable 12-volt DC output. It is not only quite essential for powering a huge range of electronics. As mentioned, you need it for electric cars, phones, industrial devices and much more. In the design of this tool, the 12v is a key starting energy that changes further to other voltages.
The 12v power supply configuration is common inside many systems that require a simple but stable source. This can be seen in modern PCs that use the ATX12VO standard, where the energy supply provides only a 12-volt output to the motherboard. Thus, from there, it's converted to a lower voltage that the PC components need. The good thing about this is the reduction in complexity and improvement in efficiency. This contributes to safer, cooler, and lower usage costs.
Supplies that are needed
There are many items that you need to start this project if you want to go through with the “do it yourself” or DIY method. There are some things that you should consider for this as well. The factor that you have to look out for is the quality of the individual parts and where you source them, as it could have a high impact on efficiency and safety. And so, this is all you might need to build a DIY 12V power supply:
- 12V 30A Power supply: For example, a sunpower FDPS-350A
- 4mm banana jack receptacles
- Aluminium sheet metal
- 14/3 extension cord
- 12 gauge wire
- Crimp on wire terminals
- Zip ties
- Heat shrink
- Soldering tools: Including heat gun, iron, and crimp Tools
Steps to make a 12V power supply
Now, we will go into more detail on how to get all of those materials into building a 12v power supply. However, there are some key things that this article will explain and tell more about safety during this process. There are key safety things that you need to keep in mind. It's crucial for you to follow the proper safety precautions to protect yourself and the components.
Firstly, you should disconnect your power before working on it. Next is to use insulated and grounded tools to ensure protection from electric hazards. Thirdly, double-check the connection to prevent any damage to the components. Finally, to avoid any short circuits, check all your wires, connections and connectors to make sure it's not touching. Now, after all that, this part will delve deeper into the process of making the 12v power supply.
Pre Steps
To begin with, you do not need to do any fancy computer-aided design for this, as it will be a simple conversion and retrofitting of the output. Before anything, make sure that the switch on the power supply on the side is set to an input of 115 volts.
If you are still inexperienced when working with electronics, especially AC ones, then you should pay more attention or avoid this task. Although it's not a difficult one, the chance that it could go wrong if not done properly is quite high.
Part One
The first thing you need to do to make it easier for yourself in the future is to add arrays of holes down each side of the sheet metal bracket. Using just a zip tie, you can hold the bracket onto the front of the 12v power supply through the slots that are already on the power supply. Doing this made it possible to make it as compact as possible without feeling too constrained.
Following that, the power supply should still have nothing done to them other than the added sheet metal. Next, you have to identify the cord and which is which to ensure that you can prepare for the next step. The power cord should be attached to the right three terminals. The ground is the green wire from the extension cord; the white goes to the N, and the black wire goes to the L.
Part Two
Secondly, after you identified all the correct chords, you can put those wired through the corresponding holes in the 12v power supply and the sheet metals. Next, prepare to install the banana jacks, which are quite simple. You just need to install the two terminals onto the sheet metal part, which is going to be soldered red and black wire onto them.
Afterwards, you have to make sure to cover the solder job with the heat shrink. With that, the final step is to attach terminals on the other ends of the wires and the wires to the 12v power supply itself. For better understanding, the energy source has three positive and three negative terminals. The manufacturer should label this clearly. To connect the jack, it's better to make it a few screws apart.
Part Three
Once all five wires are installed correctly, this step is finally completed, which is important for the 12v power supply creation. This is to make sure to introduce some slack by strain to relieve your cables. This is for you not to accidentally tug and damage them or, even worse, cause a short. Thus, the banana jack cables are hard mounted on each end, which is pretty well protected in between.
But the extension cord just goes through a hole in the bracket. Secure a zip tie around the orange outer coating of the cable on both sides of the bracket. This is to prevent sudden yanking and protect the 12V power supply. As a result, if a force pulls the cable, the zip tie restricts its movement and prevents stress from damaging the connections.
Final Part
Finally, once everything is electrically connected and strain is relieved, you must attach the bracket to the enclosure with a handful of zip ties. The holes that were made were to ensure that the spacing was right. To see if everything is installed correctly and safely, do a final check on the 12v power supply. This could mean opening the enclosure again. That is why, when installing the cables themselves, you need to be thorough to guarantee that you won't need to do a lot when checking everything.
Lastly, you have to ensure that you can bring this everywhere to where it's needed. You are going to need a proper carrying case for everything. A small toolbox is perfect for this as it can hold the 12v power supply, charger and all the various leads to attach the batteries or devices to it.
With this, the 12v power supply will be put at the bottom of the box with the charger and covered with some old shirts for protection. This safeguards both devices and prevents any loose ends from getting exposed.
Learn more about the creation process with CCM
Are you interested in electronics, especially DIY electronics? You are looking to increase your skills and succeed in the future with the skills that you have just learnt. Therefore, if you wish to deepen your knowledge of electronics, then the College of Contract Management is perfect for you. The college focuses on essential skills and industry insights.
Moreover, the college equips students with the necessary practices to have a solid understanding of the topics, such as creating a 12v power supply. Enhance your qualifications and gain the knowledge you need to excel as a professional in the field. Learn more and succeed together with CCM.