If you are wondering how to remove any silicone, whether it's caulk or sealant, quickly and completely, silicone remover is your best friend. Therefore, you have come to the right place. We are going to dive into this type of remover in this article, which is one of the best ways to remove silicone.
Silicone is known for its incredible versatility, endurance and resistance to weathering. Its flexibility makes it a perfect choice for sealing jobs like weatherproofing, expansion joints, glazing applications and more. However, there are times when you need to remove that silicone. Either put a new one in or change it to another material; you might need to clear up that old silicone for a number of reasons. Whatever the reason is, we will explain and give some insight on the best way to use a silicone remover.
What is silicone remover?
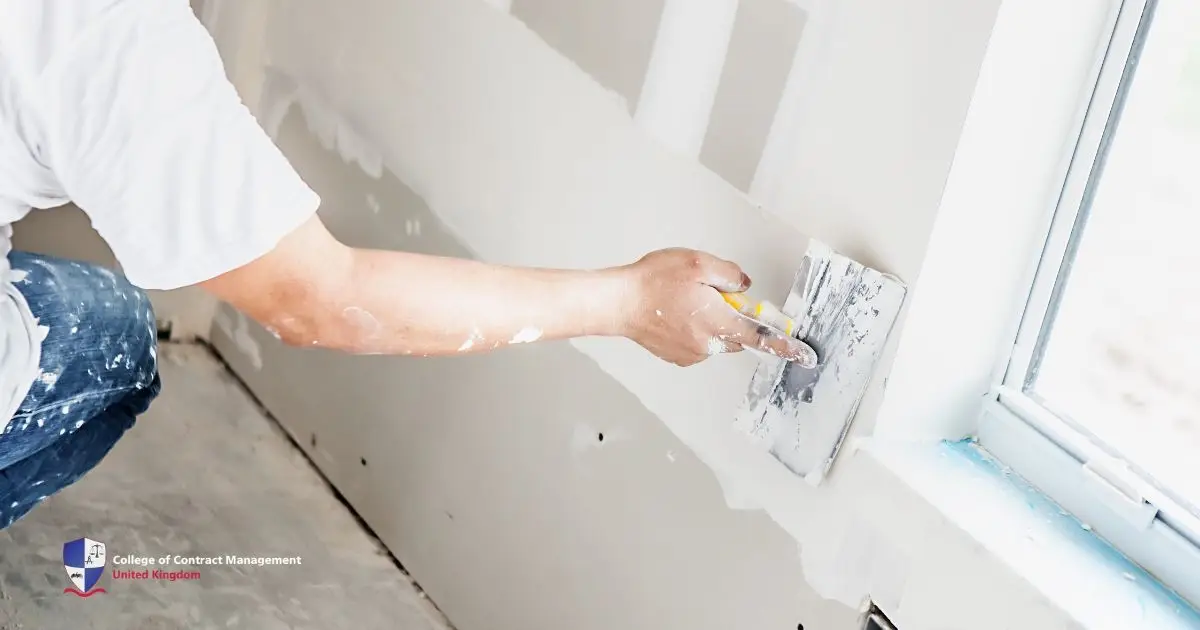
Silicone remover is a chemical solution that is made to break down silicone to make it easier to remove. These solutions are a great option to make silicone easier to remove from surfaces. By its base nature, silicone is quite strong and adheres tightly to surfaces, making it quite hard to remove from scratch. For example, you need to remove the silicone first to repaint something. This is because the silicon that makes the paint won't stick.
Regardless, this silicone remover is an effective solution to remove it. Manufacturers typically formulate it by blending solvents and active ingredients that break the bond between silicone and the surface. Thus, making the silicone easy to scrape or wipe away. Manufacturers formulate the remover with acetone, isopropyl alcohol, mineral spirits, or petroleum products (like gasoline) as its main ingredients.
In the end, they work both to weaken the silicone and to lubricate the bond between the sealant and the surface. A reaction occurs when silicone remover is applied to all exposed surfaces of the silicone. Moreover, it all depends on the brand you choose; some will work in a few minutes, some can take over a few hours. The reaction will gradually soften the silicone. From there, you can scrape the silicone away using a knife or a tool.
Step-by-step guide on using the remover.
The best way to remove silicone is to use the silicone remover. Specifically, when trying to remove silicone caulk without incurring any damage to the surfaces. Whether you are dealing with a sealant around a bathtub, window or sink, it is key for you to know how to best use it.
In this part, we are going to delve into the step-by-step process of how to use this kind of remover to clear silicone from any surface without causing damage. Following our comprehensive guide will empower you with the knowledge to tackle silicone sealant removal confidently and achieve professional quality results.
Step 1: Clear the area of loose objects
First of all, you need to remove any loose objects from the surrounding area. This is to ensure that you won't be obstructed or damage any item. Removing them also makes sure that you won't risk dirtying or damaging them. Hence, when you are using the silicone remover and ensure a sterile environment to make sure the chemical works at its best.
Next, after you are done, cover the work area with masking tape or plastic sheeting. This is done to ensure they are protected from chemical splashes and debris. After all, you need to clean the area by wiping down surfaces with a damp cloth to remove dust and loose particles. However, you need to make sure everything is dry before applying the chemical.
Step 2: Remove loose pieces of silicone sealant
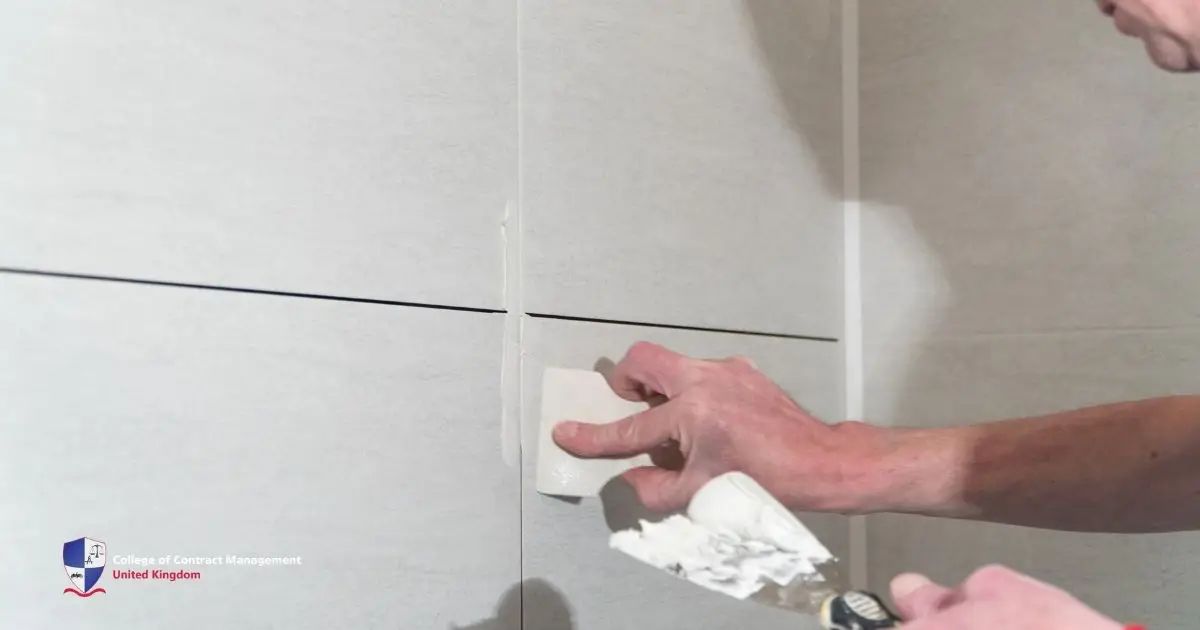
In most cases, you will notice some bits of silicone coming off when using a silicone remover. These bits can be peeled off by hand or scraped off with a sharp blade. Carefully remove these loose pieces by hand or gently scrape them off with a plastic scraper or sharp blade. Ensure that you don't damage the underlying surfaces.
If the silicone is stubborn, you can use a utility knife to make a small, shallow incision along the seam. This creates an opening that allows you to peel away the silicone in manageable sections. Be cautious not to cut deeply, as this could damage the surface beneath the sealant.
Step 3: Apply or spray the sealant remover
Once the loose pieces have been successfully removed, you can apply a silicone remover evenly over the remaining silicone. Use a spray bottle or a brush to make sure the silicone is fully covered. Make sure you follow the instructions on the product label regarding how long you should wait. Allow the solution to sit on the silicone so that it can work its magic to loosen and soften the material.
If you don't have a dedicated silicone remover available, try using WD-40 as an alternative. Its chemical formulation will break down the silicone bond with the surface, which should make it easier to peel away after the recommended wait time. However, it may need more force or effort before being able to remove the silicone fully.
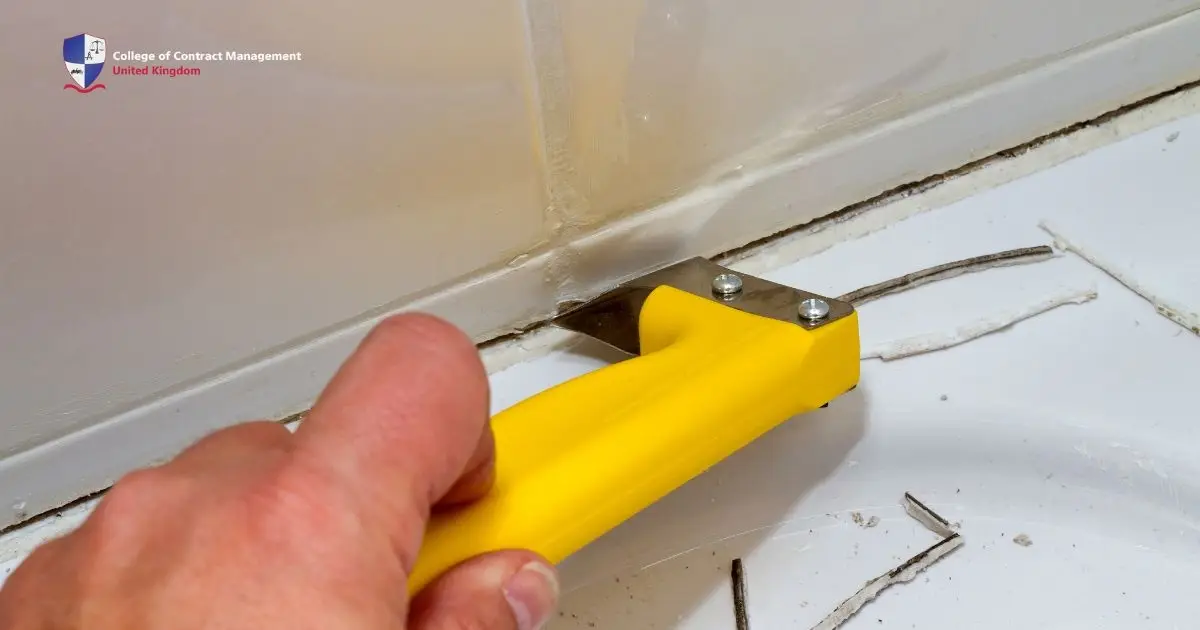
Step 4: Remove the residue
Finally, after the silicone remover works its magic and the silicone is softened. You can carefully remove the loosened sealant by hand or with a plastic or sharp blade. Take care not to apply too much force to avoid scratching the underlying surface. Work slowly and methodically to let the softened silicone peel away safely and cleanly.
After the bulk is removed, pour a small amount of methylated spirit onto a microfibre cloth. After that, gently rub the area to eliminate any remaining residue. This final cleansing step is to make sure that the surface is smooth and free of any remaining silicone. Hence, making it perfect for a fresh sealant application.
Gel vs spray silicone remover: Which one is the best?
Gel is generally the best for precision, while spray excels in speed and coverage. However the best choice all depends on your needs and what is your overall plan. Spray silicone remover offers fast even coverage on large, flat surfaces. Thus, making it perfect when you need to treat extensive areas quickly, but they can run off vertical services or joints, reducing their overall effectiveness.
On the other hand, gel remover has a more viscous and thicker consistency that clings to the surfaces quite well. Hence, making it perfect for vertical or detailed areas like shower walls and even bathtubs. This is because it allows the remover chemicals to work on the area for a prolonged dwell time to effectively break down stubborn silicone.
For this reason, the best choice depends on your project’s specific needs. Use a spray for fast, broad application on horizontal flat surfaces. Or opt for a gel when you require precision and control on vertical or hard-to-reach areas. In some cases, combining both silicone remover can give the best outcome and results.
Conclusion
Silicone remover quickly breaks down old silicone, which in the ned leaves a clean surface that is ready for a new seal or paint. In the end, whether you choose gel for a more vertical job or spray for a fast, even coverage on a flat surface. Following the proper steps and safety considerations will leave you with a professional quality.
If you're looking to advance your career in construction, enrolling at the College of Contract Management is a great choice. With their expertise, you'll gain the knowledge and skills needed to stand out in the job market. Besides, the college offers programmes that can help your career growth. So, take the leap and invest your future today with us!